
Hello everyone, and welcome back!
Today I’m excited to share a full process video on how I created this handmade journal featuring a faux corset binding. It’s a beautiful, sturdy design that’s also a lot of fun to make.
Supplies & Prep
I started off with a piece of chipboard — the one I used came from the back of a sketchpad, but you can use any sturdy material. If you’d prefer a softcover, just ensure the spine is firm enough to support the grommets.
Cutting the Covers
I measured and cut the chipboard into:
- Two equal cover pieces
- One spine piece
Tip: The spine needs to be thicker than usual — not just to accommodate your signatures, but also the holes and grommets on either side for the faux corset look. I added about ½ inch extra on each side.
Choosing & Wrapping the Cover Fabric
Next, I selected my fabrics and played around with placement until I found something I liked. Each cover is wrapped individually, so I prepped and glued them separately.
Note: When designing your cover, remember that grommets will go down both sides of the front and back. Leave about ½ inch or more clear on the sides to avoid covering up any decorative elements.
Don’t forget to wrap your spine piece too!
Adding Grommets for the Corset Binding
Once everything was dry, I began measuring and marking where I wanted the grommets to go. This step is super important, so take your time to:
- Mark evenly spaced holes
- Ensure holes on the spine match up exactly with the front and back covers
- Leave space at the top, bottom, and edges
I used a hammer and punch tool to set my grommets (no fancy tools here!), but feel free to use whatever you have — like a Crop-A-Dile.
Embellishing Before Lacing
Before lacing everything up, I decided to finish embellishing the covers. If you’re using a hand-punch method like I did, it’s easier to decorate after setting the grommets to avoid damaging anything. But if you’re using something like a Crop-A-Dile, you might be able to decorate beforehand.
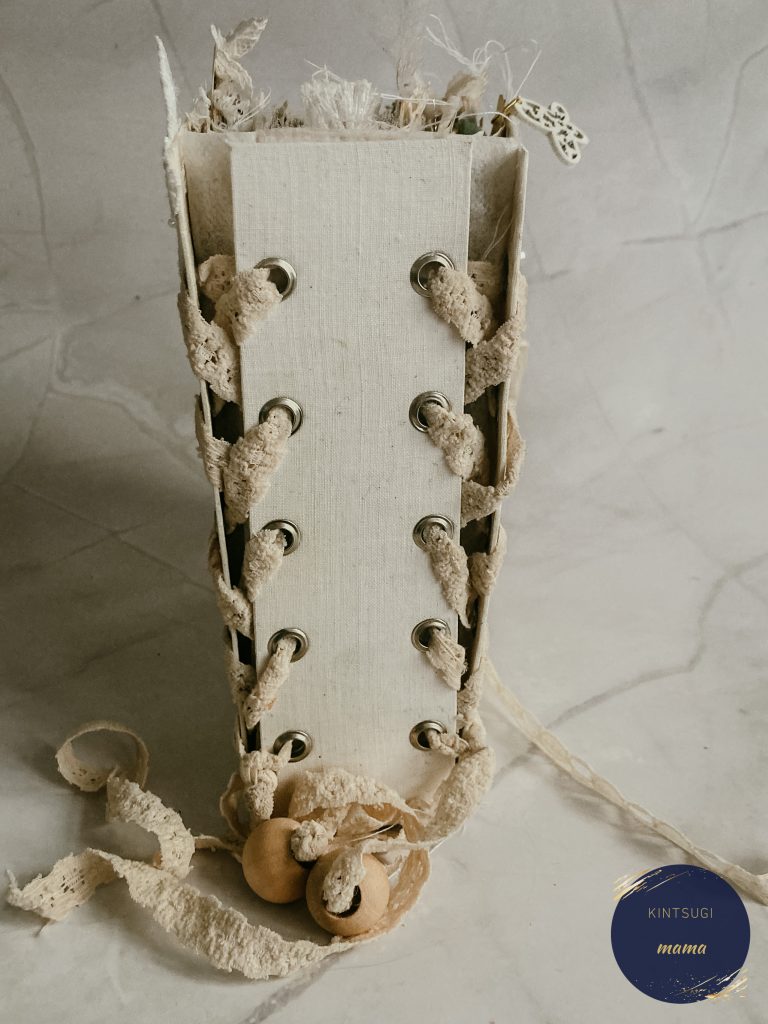
Lacing the Faux Corset
Now for the fun part — lacing the covers together!
I used a stretchy vintage lace and started by threading it through the top holes, then zig-zagging down, skipping every other hole. Think of it like lacing a pair of shoes.
Don’t tie it just yet — wait until after sewing in the signatures, so you can adjust the tension based on how thick the book becomes.
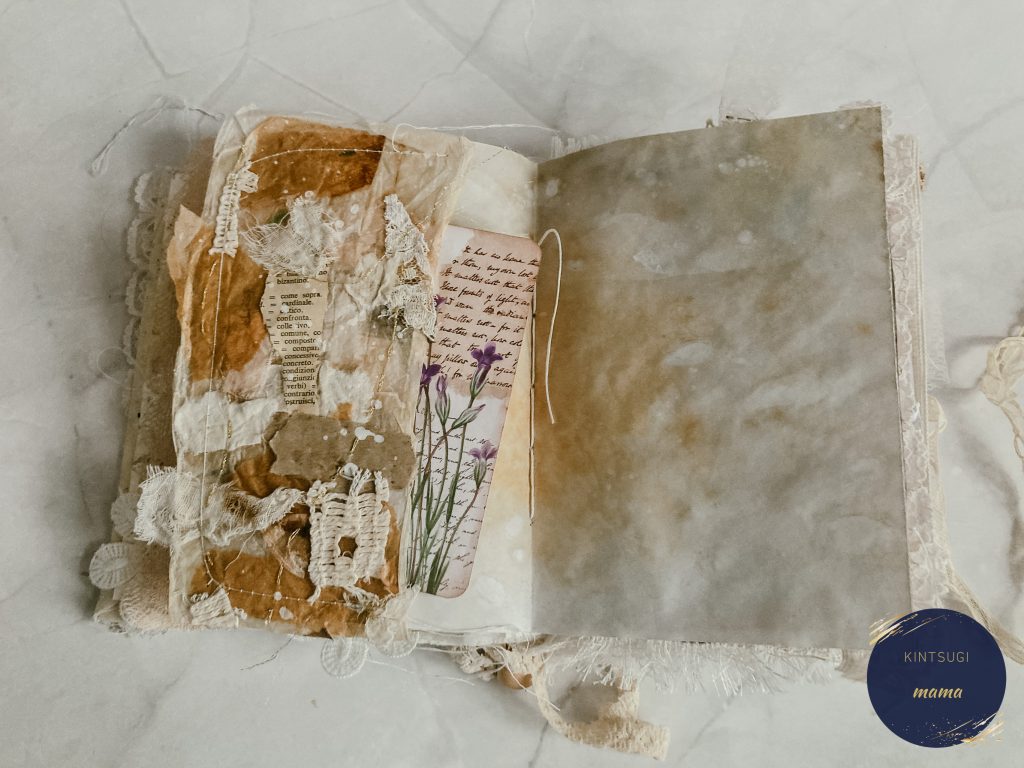
Decorating End Papers & Spine
Next, I prepped my end papers using heavier cardstock, coffee-dyeing, inking, and distressing them for a grungy, vintage feel.
I also covered the inside spine with cardstock to hide the pencil marks — just make sure it’s slightly narrower than the actual spine to avoid covering the grommets.
Sewing in the Signatures (Coptic Stitch)
I selected my papers, created a punching template, and stitched them using a Coptic stitch binding technique.
To reinforce the binding, I:
- Glued the stitched spine to a strip of fabric
- Let it dry under weight
- Added a couple of glue layers for extra strength
This hidden spine method adds durability and keeps the pages from falling out.
Attaching the Text Block & Final Assembly
After everything dried, I glued the text block into the journal. I beveled the fabric edges and secured them inside the covers.
I then added my end papers — one with a pocket, and the other with a belly band — and pressed them overnight under weight.
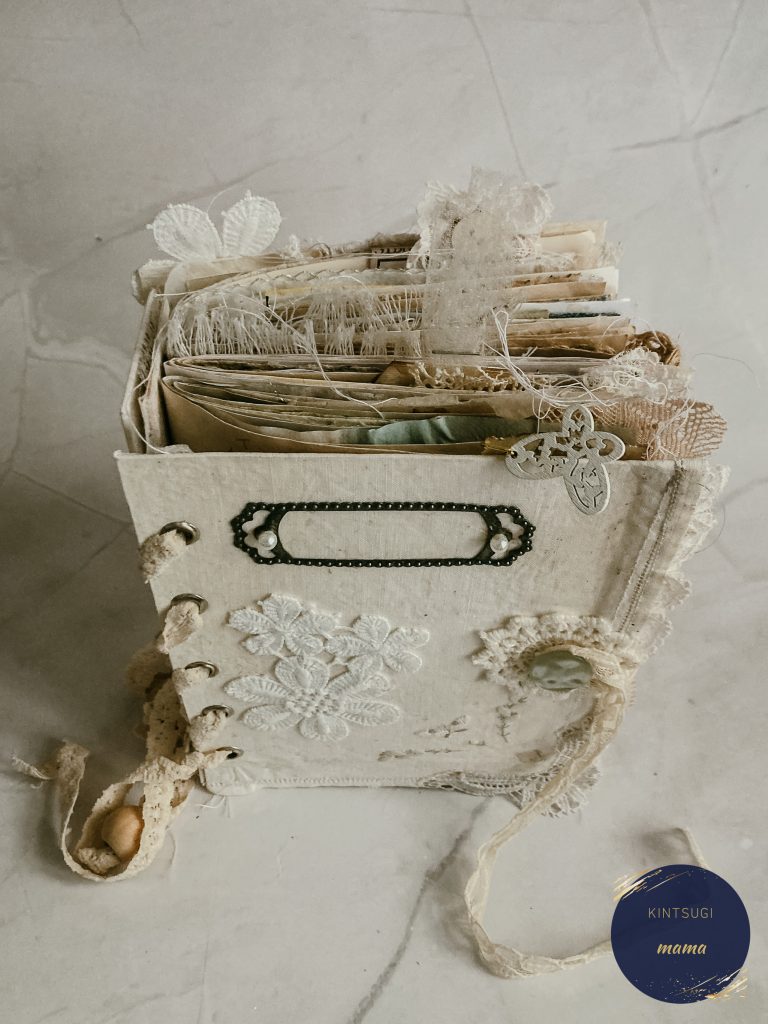
Finishing Touches
The final step was tightening and tying the corset lacing. My journal ended up quite chunky, which created a nice gap between the covers and the spine. The fabric I used to bind the text block is visible here, so choose one that complements your overall aesthetic.
I finished it all off with a bow and added beads to the ends of the lace.
I hope you enjoyed this tutorial and found it helpful!
For those of you who are more visual learners (like me!) you can watch the full tutorial below:
If you want to find out more about book binding, check out this list here!