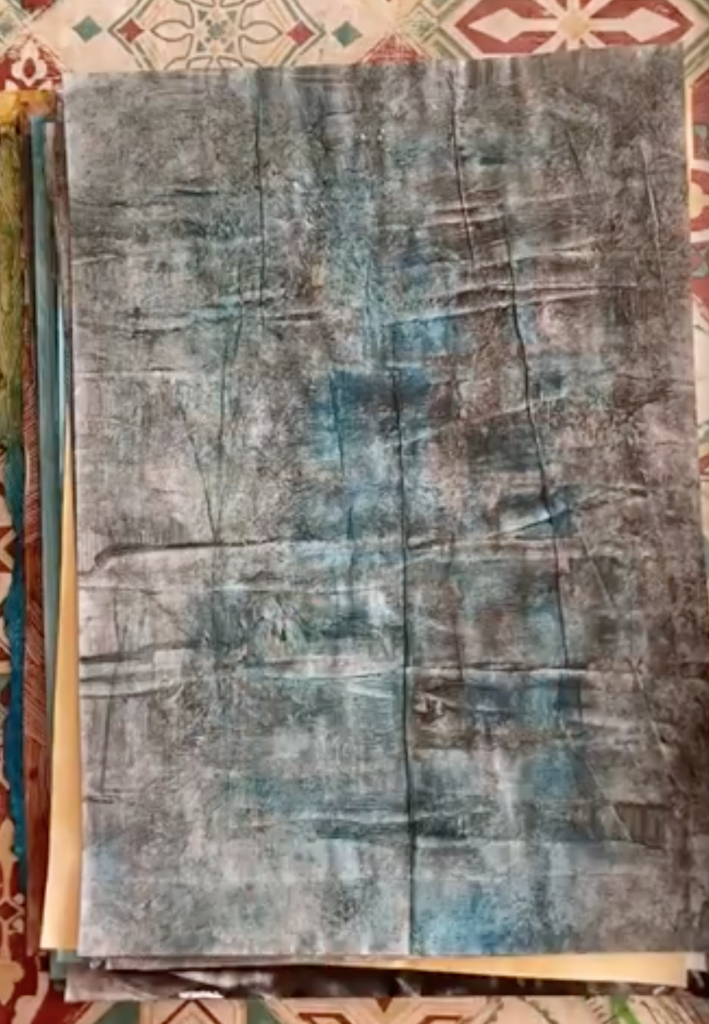
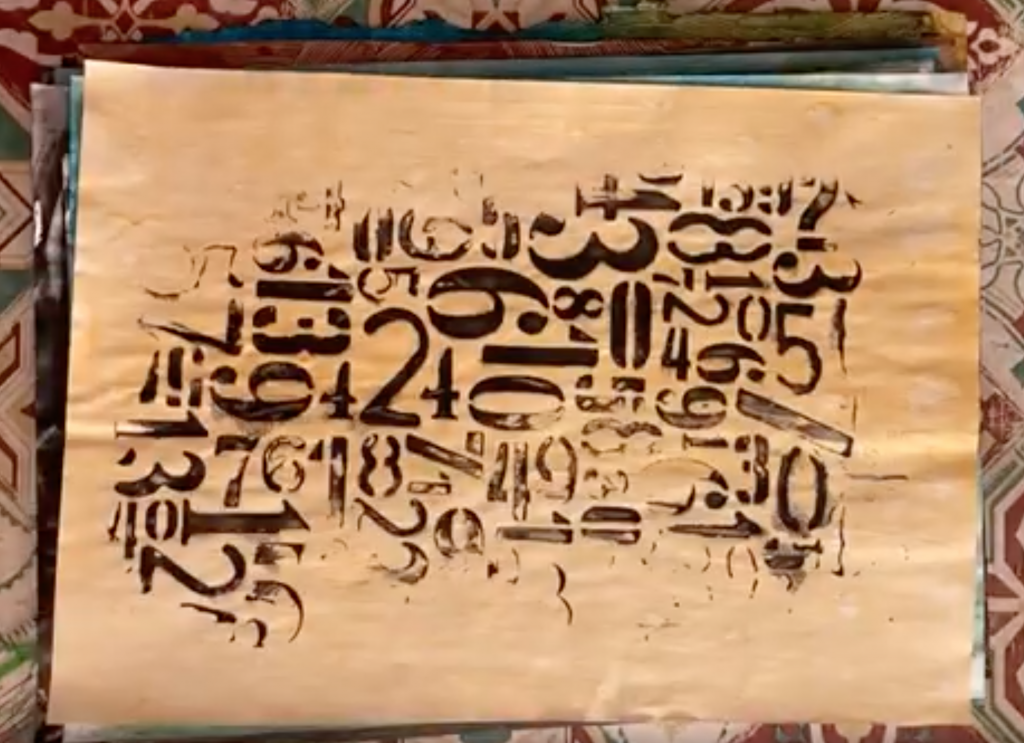
Paste papers are a traditional type of paper decorating, used mostly to make end papers. But they are pretty amazing works of art on their very own! If you do a search online for traditional past papers, I am sure you will find some familiar patterns, but, I like the more modern and experimental approach of mark making and seeing what comes out.

One of the coolest thing about paste papers is that they have a “memory” so any marks you make on one layer remain, even if you put another layer on top – this makes for some pretty unique and surprising creations.
As the name suggests, one of the most important things you need to make paste papers is paste. You can use a number of different pastes: wallpaper paste, wheat paste, but my favourite is corn starch/flour paste. I find it comes out silky smooth and I just love working with it.
So, in order to make your paste papers, you will need:
- paper
- corn starch paste (recipe below)
- acrylic paint
- some small bowls
- various mark making tools

Corn Starch/ Flour Paste Recipe
*This recipe uses a 1:10 ratio – if you want to change the amounts keep that in mind*
Ingredients:
1/2 cup corn starch/corn flour
5 cups water
Method:
Whisk together the corn starch and water in a pot until smooth. Put on medium heat and bring to a simmer – do not let the mixture boil. Make sure you stir frequently to keep the mixture smooth. Once it begins to simmer, cook for five minutes (the mixture will change consistency and become more translucent). Take off the heat and set aside to cool. Can be stored in the fridge for up to a week.
Once your paste is ready, spoon some into some small containers. Add some acrylic paint to each container until you get the intensity of colour you desire.
Prepare your surface by covering with plastic or other waterproof surface. Spritz some water to help the paper adhere. Lay down a sheet of paper, get your marking tools and experiment!
You can watch the full tutorial on my YouTube channel below:
